Sprint 18 - February 2, 2022
- Feature
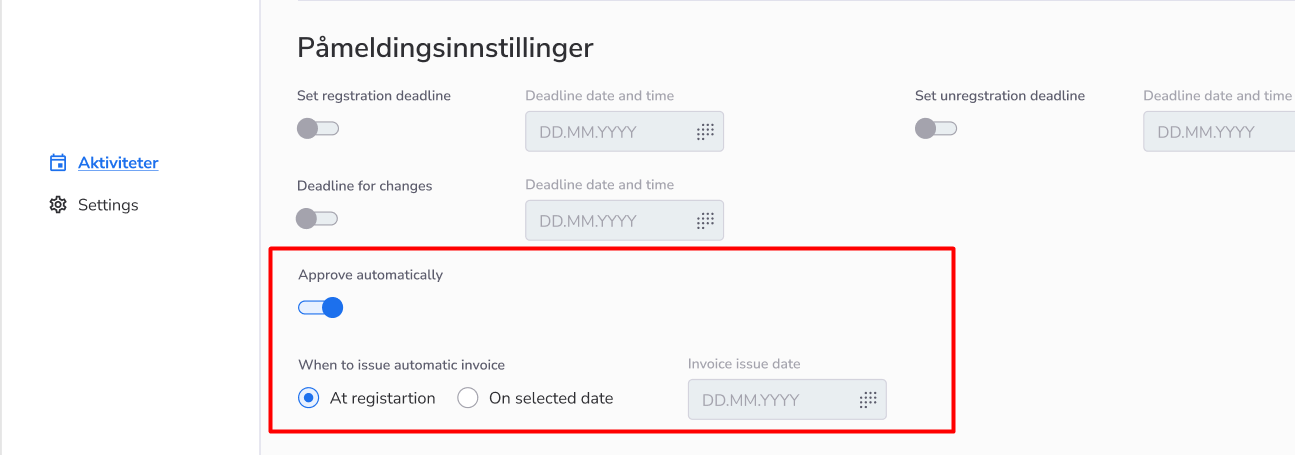
Now, if you have a system super admin permission, you’ll be able to set up, on My Page, when the automatic invoicing of the course participants will happen: when the course participant finishes the course registration or when the date that was set up, will come.
How to use:
1. Go to the My Page as System Super Admin
2. Go to the activity list
3. Enter the particular activity with payment(s) or create another activity that will have a price
4. Go to the “Registration” tab
5. Navigate to the “Approve Automatically” toggle and enable it
6. Choose the option when the invoicing will happen: when course participant finishes registration or on the certain date
7. Save the changes
- Feature
Currently, credit notes are displayed in the economy report, in a separate block, and with the “-” sign before the sum values.
How to use:
1. Go to the Back-Office, as a Back-Office admin
2. Click on the “Invoice” tab
3. Navigate to the “Export” button and select “Economy report”
4. Set the data, in order to generate the report
5. Open a downloaded file and see the information about the credit notes for the selected period(if they were created in the selected period)
- Feature
Now, the organizations can track some events that happen in the Choo i Skyen system, by using Google Analytics. In order to do that, the organization should request the integration between the organization’s Google Analytics and Choo i Skyen system. Also, the organization should specify what kind of data, it wants to track.
- Feature
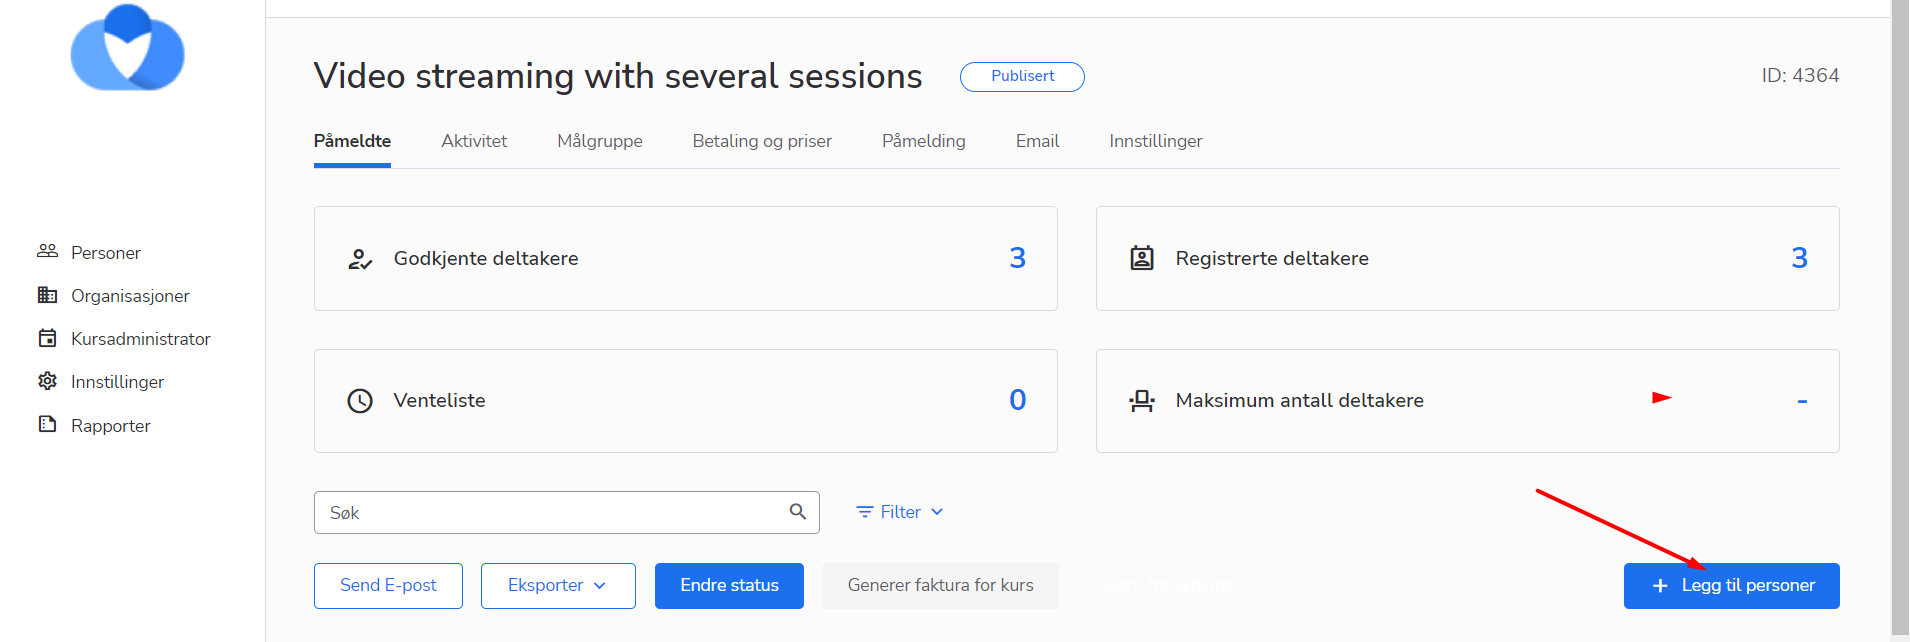
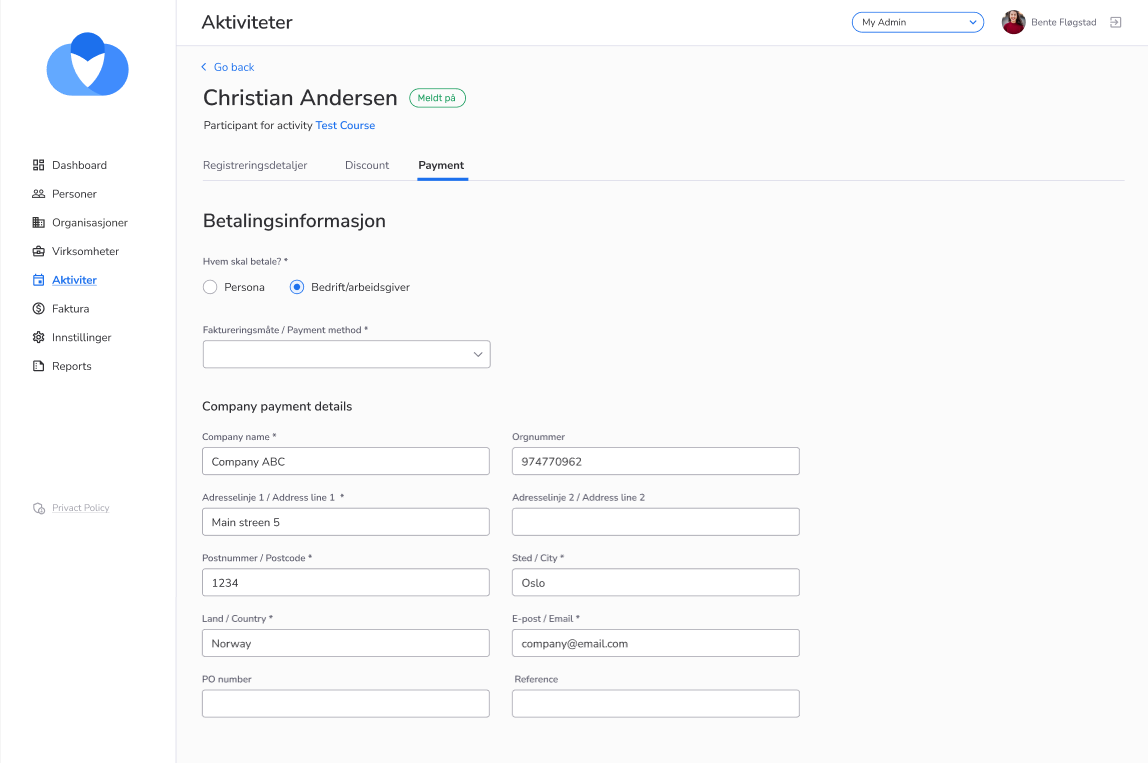
Now, if you’re a Course Admin, you can create the person in the system and add this person to the course(s) that you have access to. Also, it is possible now, to enter/edit payment information about the course participant, this information will affect only the payments connected to the course
How to use:
1. Go to My Page as a Course Admin
2. Go to the Activity list and select the particular activity
3. Click on the “Add the participant” button on the Participants tab
4. Click on the “Register new person” button
5. Enter the personal data about the person and save the data
6. Enter the payment data about the person and save the data
7. Enter the registration data about for the course and save it
8. Enter discount data for the course and save it
9. Enter the payment data for the course, and save it
10. Now, you created the person in the system and added him/her to the course
Warning: If the course is free and doesn’t require any payments, then the Payment and Discount steps will be skipped in the process of creating and adding the person


- Bug fix
We have faced some technical challenges and due to them, there was a case that a big number of invoices failed to be generated.
This issue was fixed and all the invoices were generated and sent to the users.
